
| << Samurai LED lanterns 2019-01-18 | Samurai Lanterns available NOW! >> 2019-01-21 |
This is the "how-to" guide for wiring the Samurai Lanterns with LEDs - a surprisingly easy job!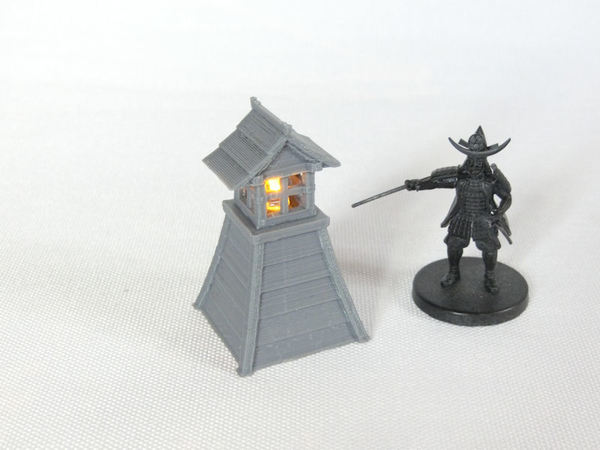
You will need:
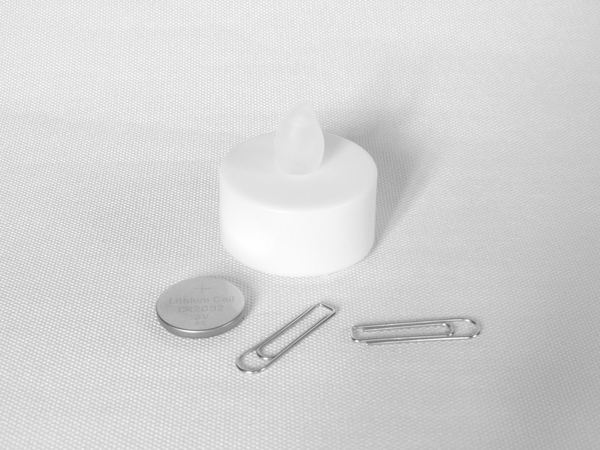
£ This is what you start with - a simple plastic LED tealight (approximately 50 yen or 50 cents) and some paperclips. Open the bottom of the LED and remove the battery. This is likely to be a CR2032 battery, with a diameter of 20mm.

£ Open up the LED light and remove the LED bulb. Typically, these are simply held in by one screw. I was lucky enough to have bought flickering LEDs, which would look even better in the finished lanterns!
Your bulb will probably look like the photo above, with two thin wires coming out from the bottom.

£ Take your lantern body and bend the wires from the bulb slightly, so that they fit into the two holes on top.
* NOTE : THESE PHOTOS FEATURE THE PROTOTYPE VERSION OF THE LANTERN, NOT THE FINAL VERSION (WITH WOODGRAIN ETC).
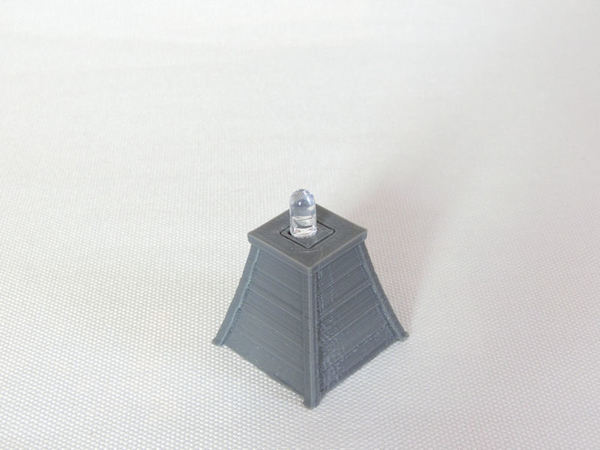
£ Push your bulb down into the socket, just to check everything fits so far.

£ Remove the bulb. Unfold your paperclip and cut it into two pieces. DON'T use your best quality clippers for this - some paperclips have pretty strong wire, which may damage your clippers!
Using pliers, bend one wire into a rough L-shape (as shown above, on the left), and the other into a J-shape (shown above, on the right).
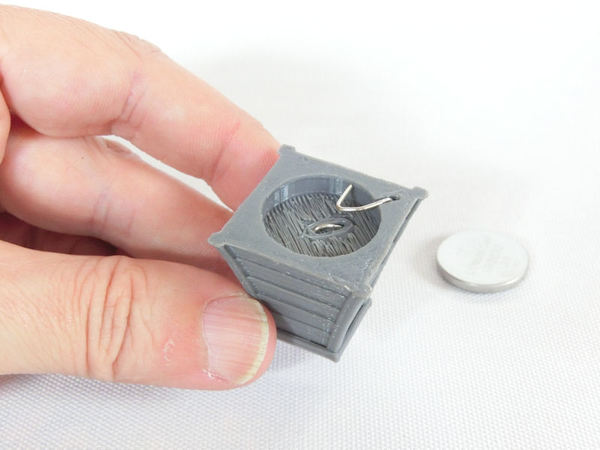
£ From the bottom of the lantern, insert the L-shape wire into the central hole as shown.
The J-shape wire is inserted into the corner hole and bent flat. If the fit is a bit loose, just bend the wires slightly in the middle and insert again. These wires form the + and - connections for the battery.

£ On the top of the lantern, you can cut the two wires pretty much flush with the surface.
* It's worth mentioning that you can also solder the paperclip wires to the bulb wires, if you want to, but it's not essential. In this case, solder the wires first, then insert from the top and bend the bottom ends underneath.
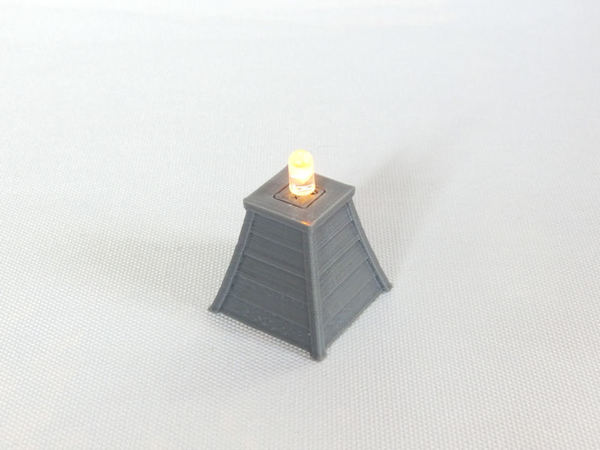
£ If you insert your bulb wires back into the top, they will squeeze against the paperclips wires inside the pipes, giving you a simple push-fit circuit.
Then simply insert your CR2032 battery into the bottom and the corner wire should hold it in place firmly. At this point, your lantern should light up!!
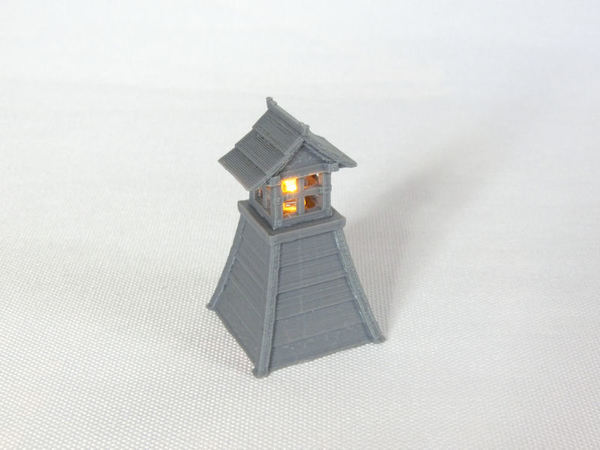
£ Place the top on the lantern, and you're done.
You could go a stage further and insert some thin paper inside the lantern cage, to diffuse the glow of the LED. I cut some tracing paper to 7x30mm, and then folded it in four lengthways.
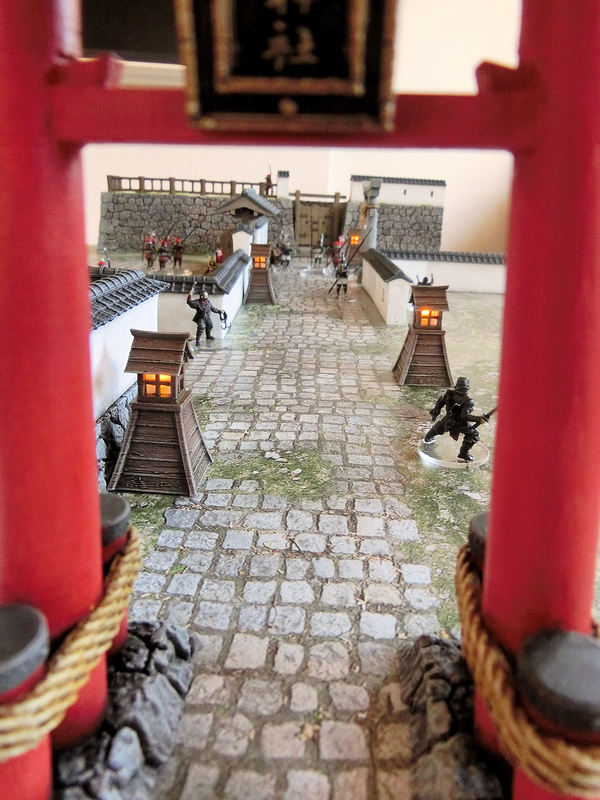
£ Official product photos of the lanterns will follow in a couple of days, but for now, here's a sneak peek of the Test of Honour game board I set up for our club event tomorrow. It's a night ambush, so those sneaky ninja had better keep away from the lights....
| << Samurai LED lanterns 2019-01-18 | Samurai Lanterns available NOW! >> 2019-01-21 |
