
| << Assembling the samurai farmhouse 2019-06-13 | Samurai Farmhouses available NOW!! >> 2019-07-05 |
Here's a painting guide on how to quickly paint up those lovely textured surfaces on the new samurai farmhouses, using simple drybrushing techniques and washes!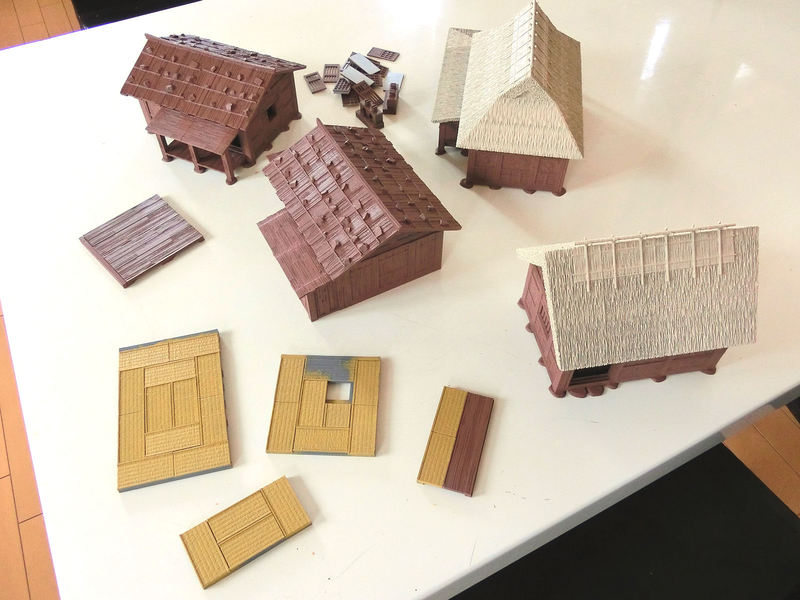
£ Before starting, all of the buildings were undercoated with matt spray paints:
Additionally, the backs of the shoji screen doors were undercoated in white, as they are mostly paper.
Tatami mats :
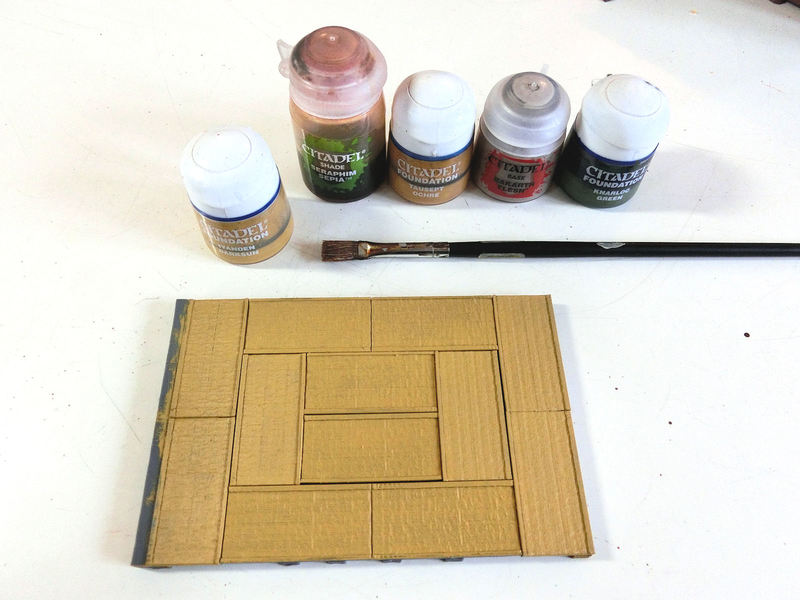
£ The tatami mats were undercoated in a sand-coloured paint (Iyanden Darksun by Games Workshop). I was aiming for a fairly dark colour of well-used tatami. If you want freshly-made tatami, try an ivory/cream undercoat.
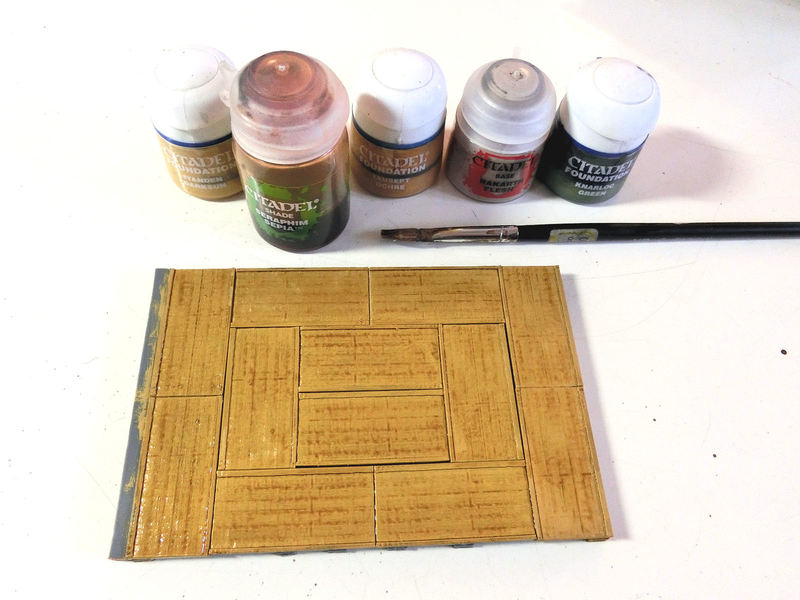
£ A thick sepia-coloured wash is next (Seraphim Sepia by GW).
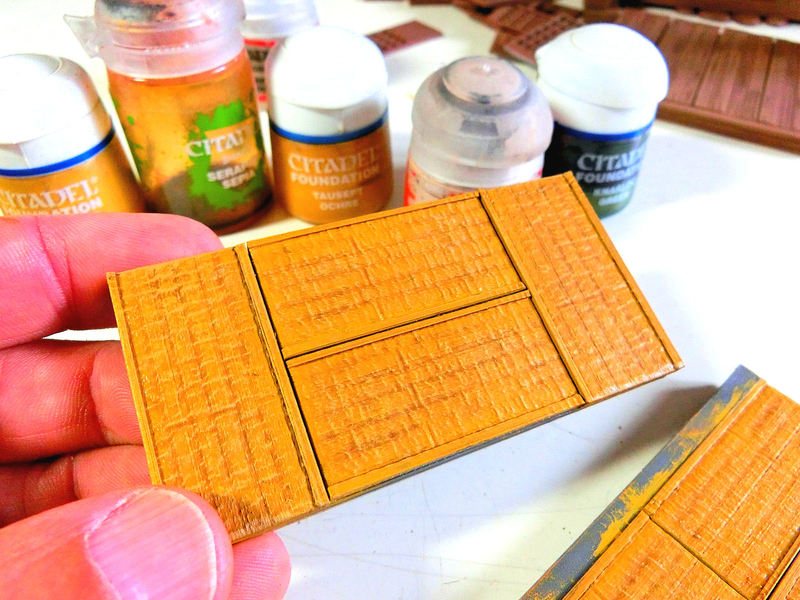
£ When the wash is completely dry, give the mats a drybrush of sand-coloured paint (Tausept Ochre by GW), and then a very light drybrush of light beige (Rakarth Flesh by GW).
£ Finish the tatami mats by painting the side trim in a bold colour. Green or navy are typical colours for tatami.
Wood :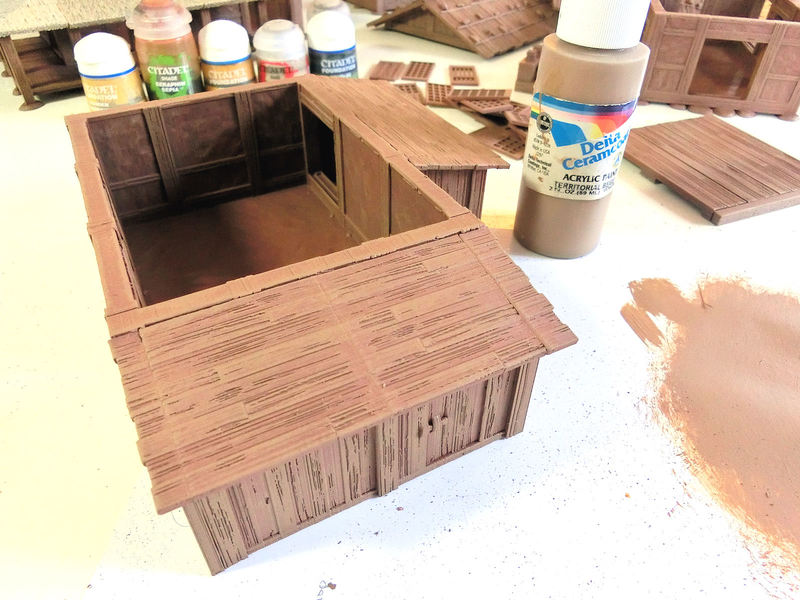
£ I undercoated my buildings in a medium brown, which made me hungry - they looked just like chocolate! Then I heavily drybrushed them in a slightly lighter shade of brown, with a 4cm-wide paintbrush.

£ I mixed up a large pot of homemade brown wash (similar to Agrax Earthshade), and painted all wooden surfaces with a heavy wash.
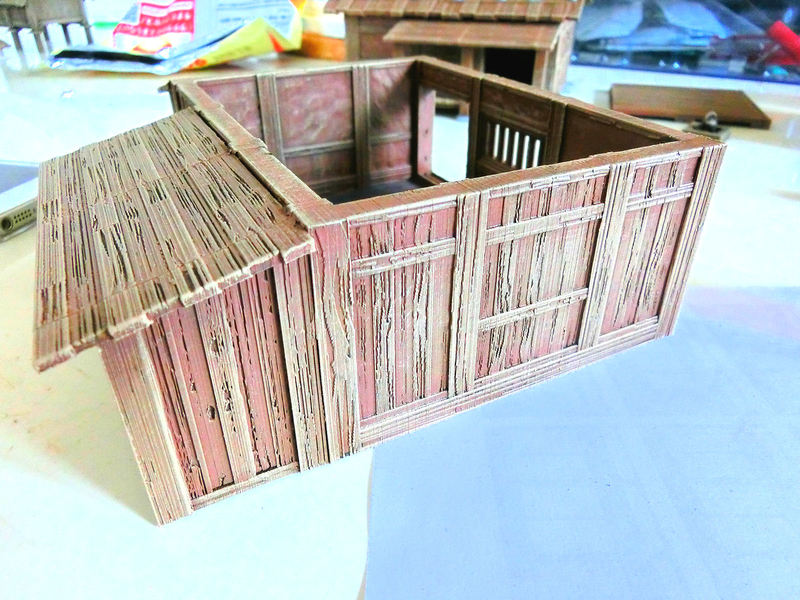
£ When the wash was completely dry, I used a light beige/brown to drybrush all over the wooden houses, using a large 4cm-wide paintbrush. This was the finished version of the wood, except for some final smaller washes done later on to weather the wood.
Stones :
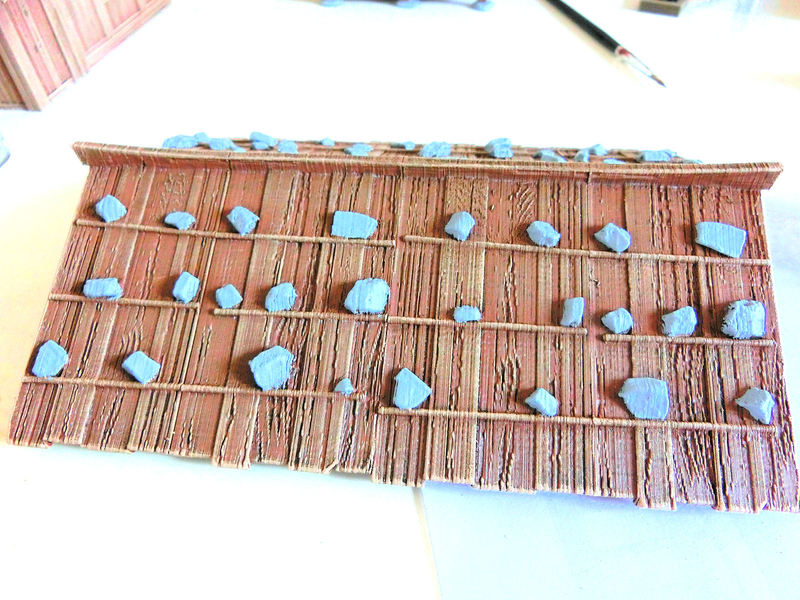
£ The wooden roof sections have rocks modelled on, and I used the same colour process for the flat stones underneath the wall corner posts. First a basecoat of light grey, with a fairly large brush....
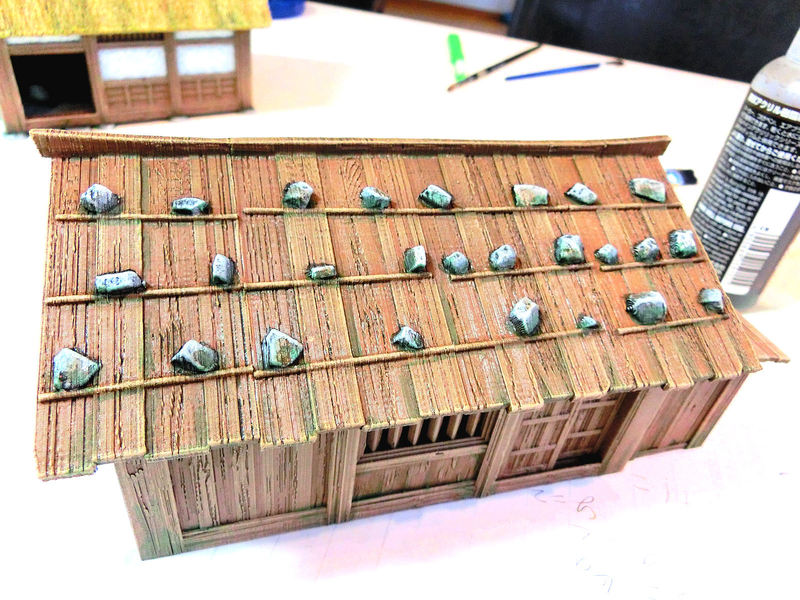
£ ... and then a heavy wash of dark brown around and over the rocks. At this stage I also added extra brown washes on a few individual planks on the walls and roof, to give more contrast.
Finally, I added a few touches of green wash to the bottom of rocks and crevices in the wood, to simulate mould where the sunlight would not reach often. This helps to give a great aged effect to my ramshackle buildings.
Walls: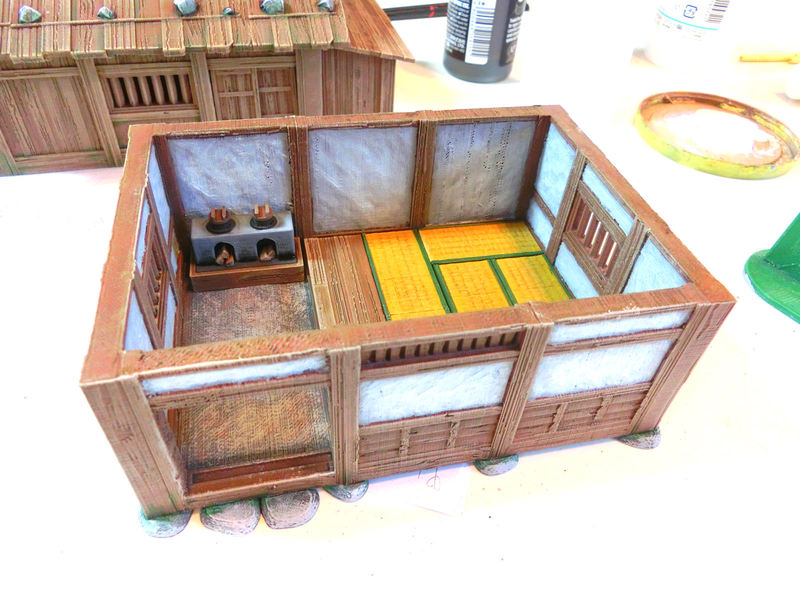
£ Some of the houses have dried mud walls, and I decided to paint these in a rough off-white finish. This was achieved by a very light grey base coat, and then a few passes of white paint stippled on. Other colours commonly used were light sandy yellow, greys or khaki greens.
Thatch: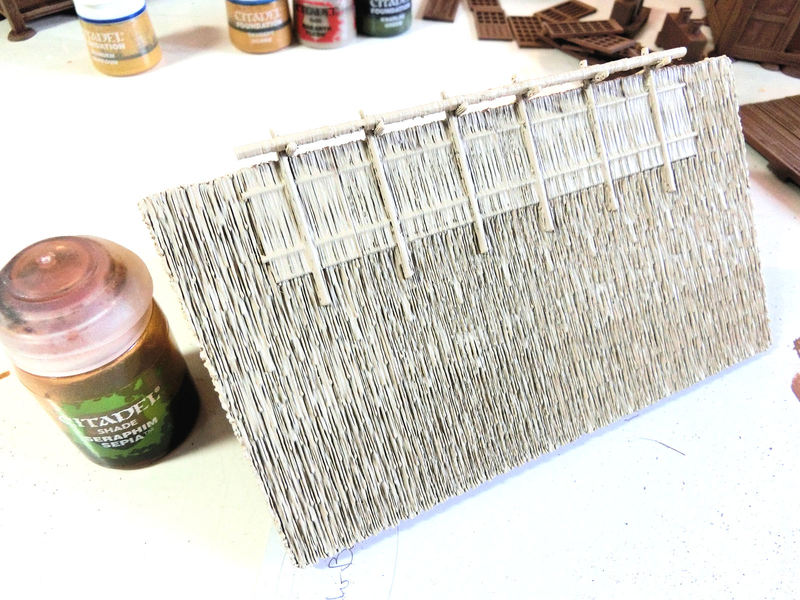
£ This was actually the part I'd been looking forward to most! The thatched sections were given an ivory/cream spray undercoat....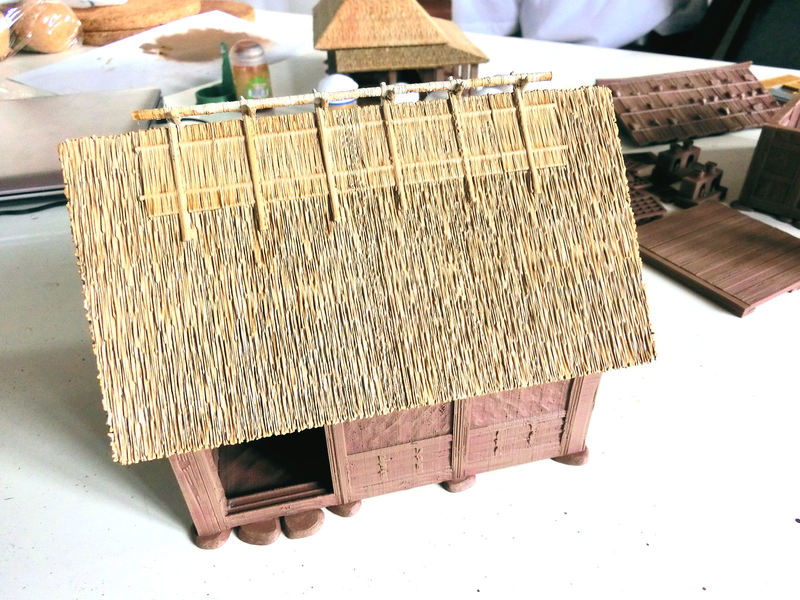
£ .... and then a heavy sepia wash (Seraphim Sepia by GW) with a large brush.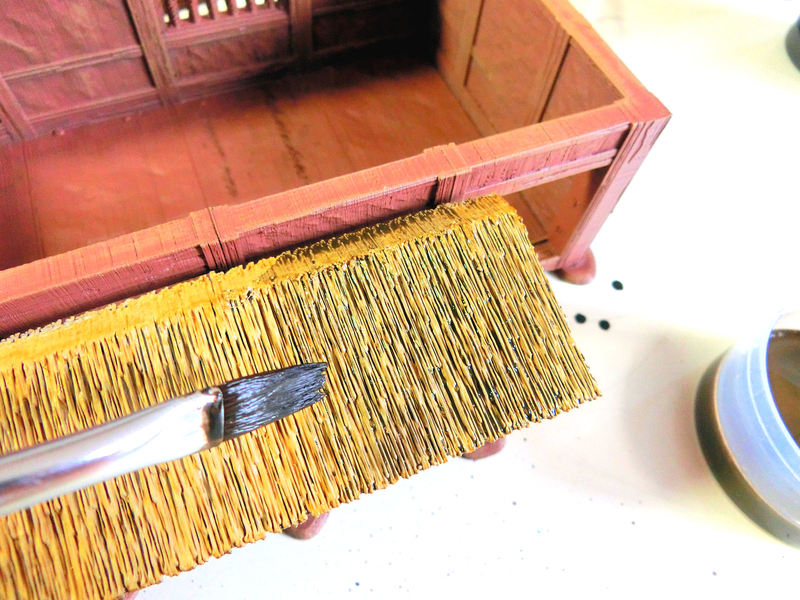
£ After comparing the thatch roof with the brown of the wooden buildings, I decided to give another heavy wash to dirty it up a little, this time using my homemade dark brown wash (similar to Agrax Earthshade). Be warned - this uses quite a bit of wash!
£ Finally, I added another few patches of dark brown wash, and a few streaks of thin green wash towards the bottom edge of the thatch, where mould typically starts to grow.
Painted pics to follow tomorrow!!
| << Assembling the samurai farmhouse 2019-06-13 | Samurai Farmhouses available NOW!! >> 2019-07-05 |
