
| << Introducing XP FORGE, our new US print partner... 2019-12-09 | Printing the castle gatetower >> 2019-12-15 |
After several weeks of printing and re-printing, the entire Samurai Castle Gatetower is now fully assembled and ready for painting, so here is an assembly guide for you, with some (hopefully) handy tips....
£ I started by printing the roof, which is quite a slow 3-part print. I printed these at 0.1mm layers to minimise print lines, and then cleaned up with a wire-brush to remove the stray strands of filament.
There are a few tiny built-in supports underneath, which you should cut out before assembly.
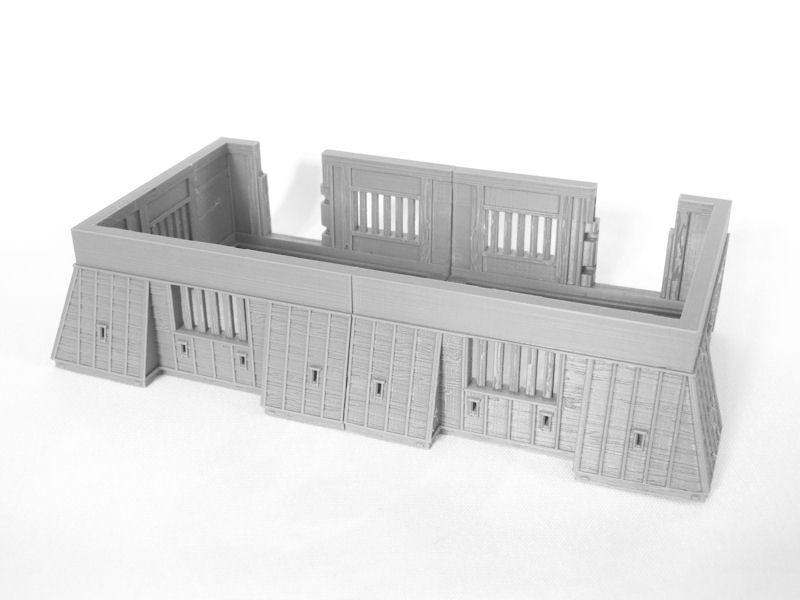
£ Next I printed the building, starting with these two large blocks. I printed these at 0.1mm layers, but 0.2mm layers would also be fine, since the print lines mostly match the wood patterns.
Easy so far, right?
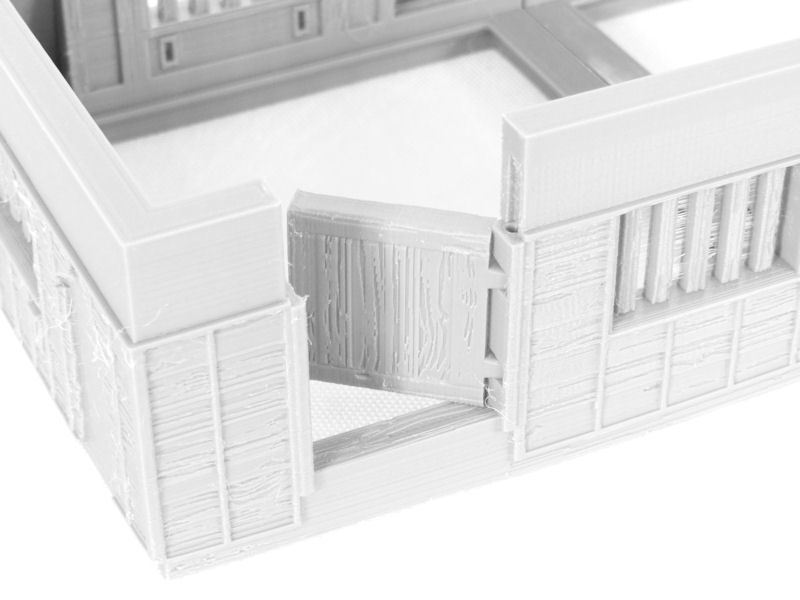
£ Next step is to assemble the doors. These slot into the door frame, and you will need to add some rod or 1.75mm filament to be used as hinges.
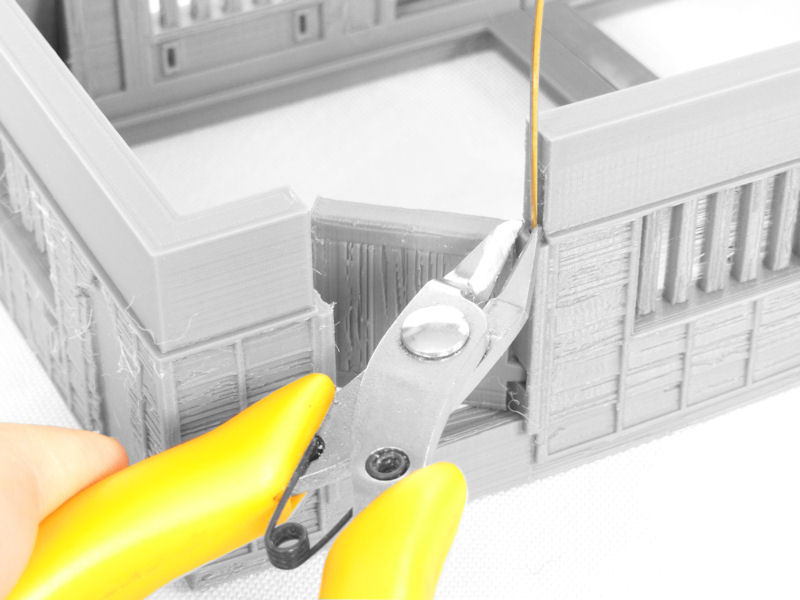
£ I used 0.1mm brass rod, which I had lying on my paint desk. Simply push it all the way down through the holes, and then you will need to cut it off above the top hinge.

£ After cutting your hinge, it should look like this. You don't need to glue it.
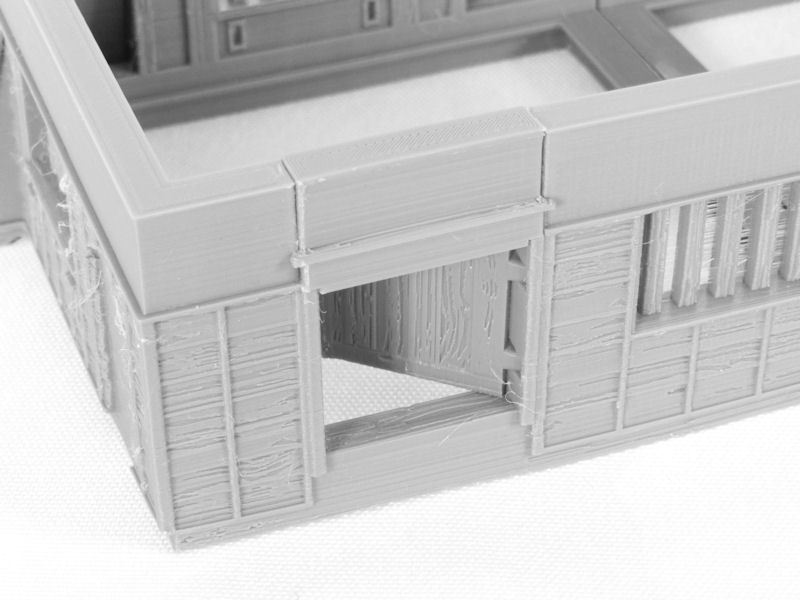
£ I printed these door frame tops at 103% scale, because my printer tends to compress bottom layers a bit too much, making 100% slightly loose. Your printer may do a better job! 103% scale gave a very tight fit in the doorframe.

£ Moving to the interior of the building, start by printing the firepit which goes in the middle of the floor. Next you'll need to print 2 of the floor sections with gaps for the firepit, and then 6 of the regular floor sections.
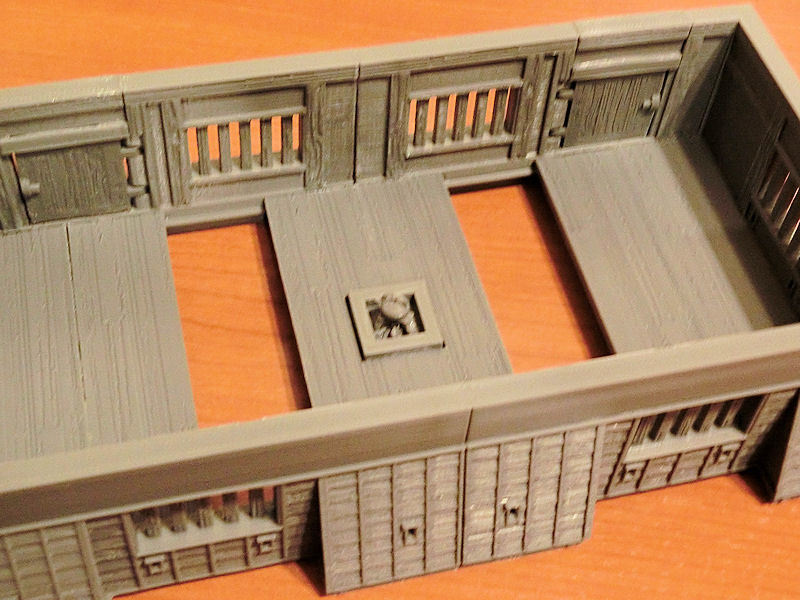
£ TOP TIP: If your printer, like mine, tends to compress bottom layers too much, you might find printing all 8 floor sections at 100% scale leaves gaps of 1 or 2 millimetres.
So to avoid that, I recommend printing and gluing down all but 2 of the sections at normal size (as shown in the photo), and then measuring the remaining gaps. You might need to stretch the last 2 floor sections slightly in your slicer software, to get a snug fit.
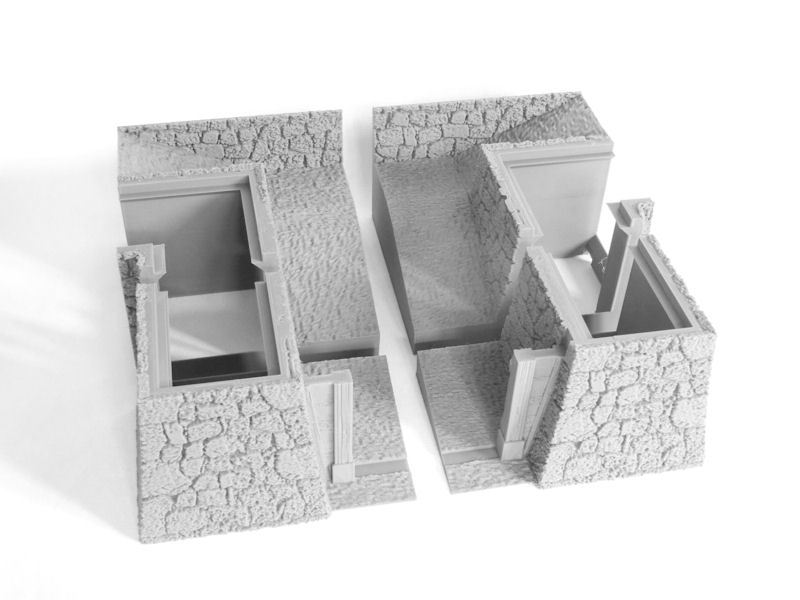
£ On to the base sections now...... this is pretty easy - just print all 4 base sections, and glue together. I printed these at 0.2mm layers, to save time. As for all of the pieces for this model, you don't need print supports.
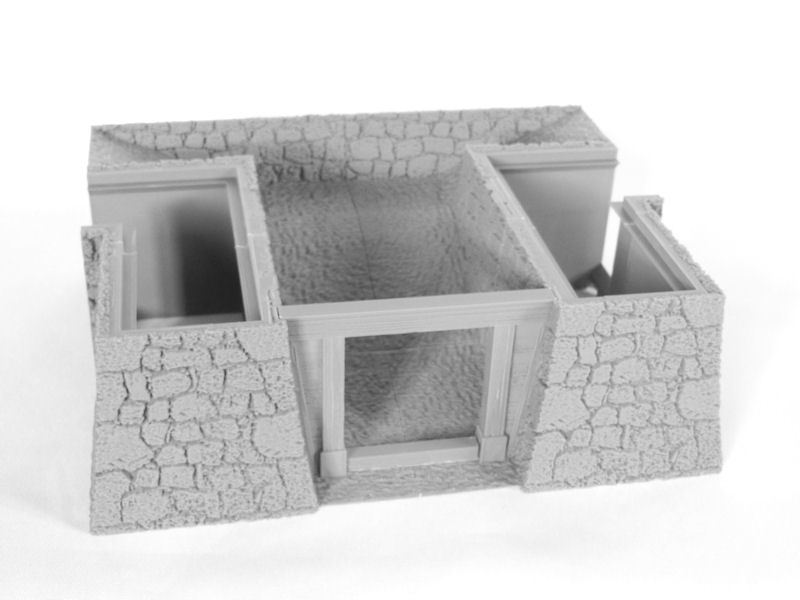
£ After the 4 pieces are glued together, print out and slot in the bottom and top beams for the gate. These add plenty of strength to the base section.

£ Next, you'll need to use some 1.75mm filament or brass rod for the hinges. I used 2mm aluminium rod, but this was a really tight fit!
The gates have two hinges on each side, so you'll need 4 bits of rod about 4mm in length each.
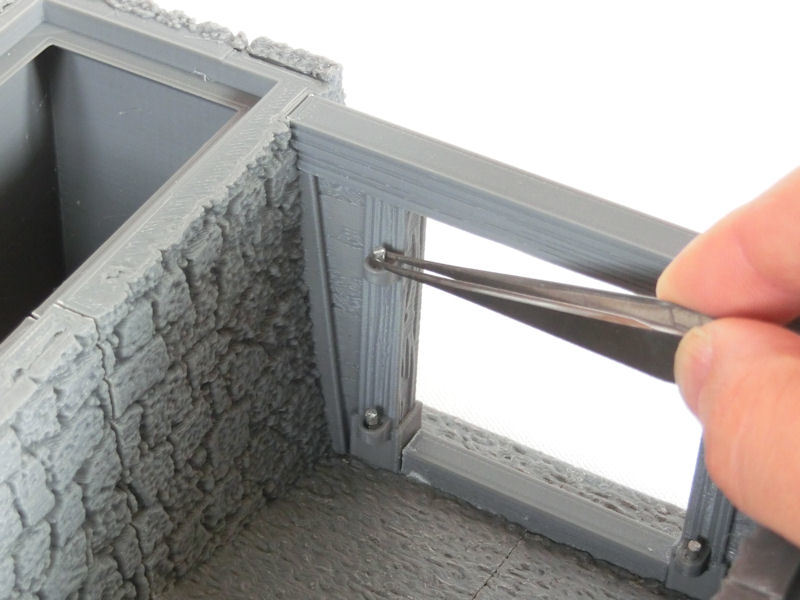
£ This bit's rather fiddly - gluing the hinge rods into the holes on the door frame.
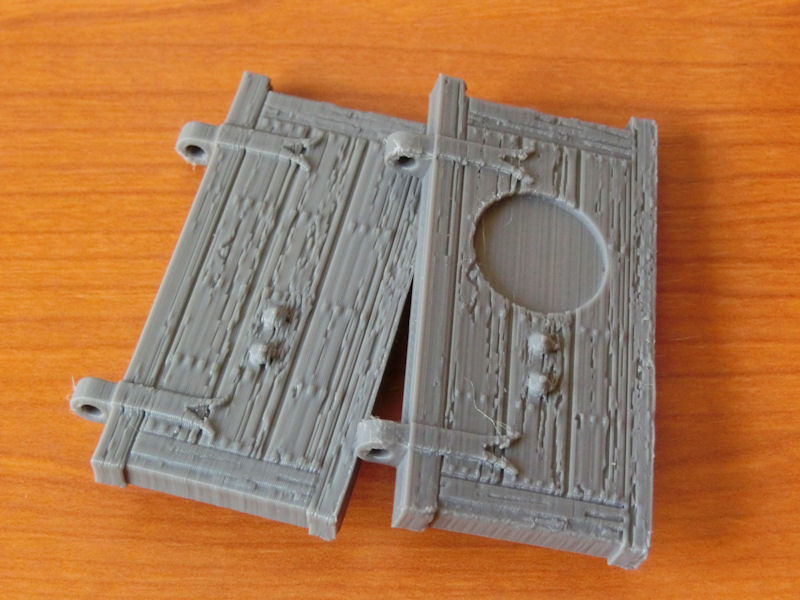
£ Note that there are two versions of the gate files - normal wooden gates, and a second version with spaces for mounting clan symbols. The file for Hosokawa clan symbols are included in this set, but you can also add any of the Clan Symbols (rescaled at 50% to 15mm diameter) to personalise your gatetower.
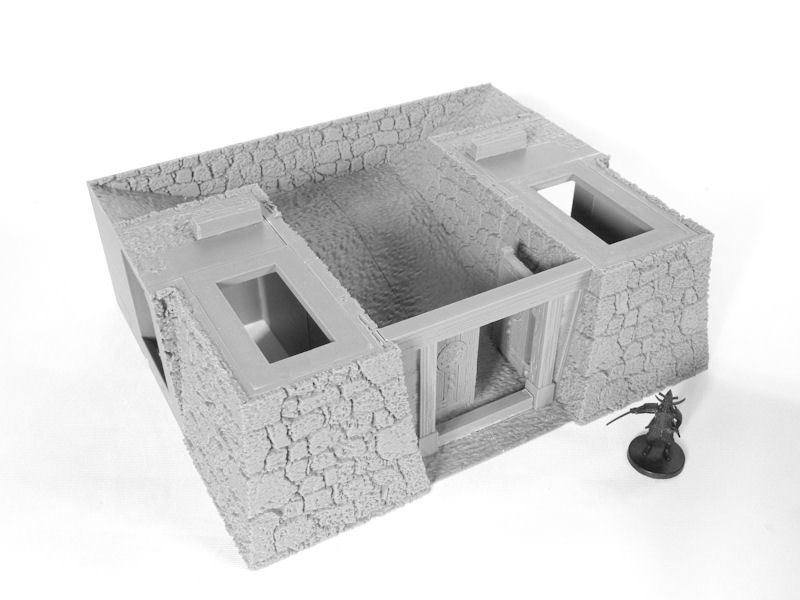
£ Drop the gates into place on the doorframe hinges, and you should have removable gates which swing open and closed smoothly.
Almost there now! To complete the base section, you need to print the left and right floor sections. I printed the textured versions at 0.2mm layers, but flat ones are also included if you want to save time. Gluing these in helps to strengthen the base section, so by now you should have something solid enough to survive sneak attacks by the cat!
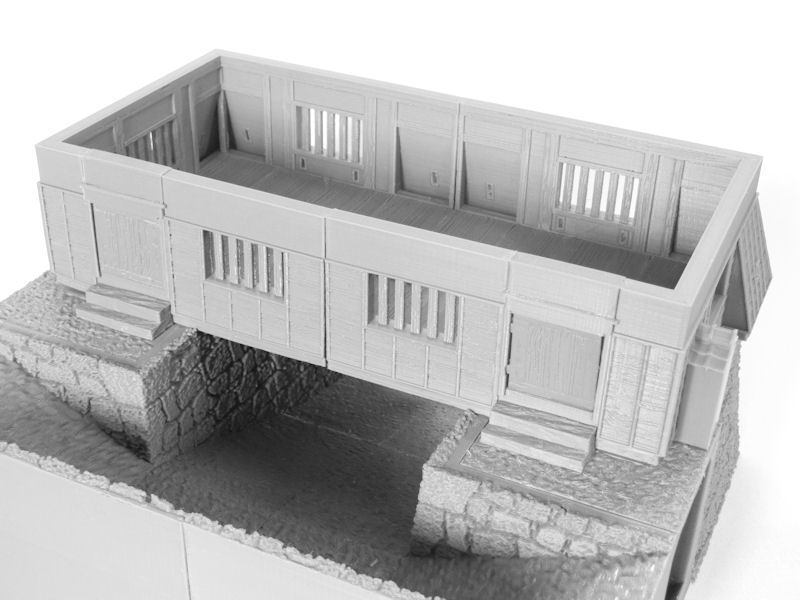
£ Final touches are the two side wall sections on the left and right of the building, and two sets of steps.
I glued my steps on to the base, so the tower building would not bump loose during games, but to make the fit easier I glued the wall sections to the building rather than the floor.
Add a few shutters if you want them, and your gatetower is complete! Phew!!
Finished pics coming tomorrow.....
| << Introducing XP FORGE, our new US print partner... 2019-12-09 | Printing the castle gatetower >> 2019-12-15 |
