
| << Printing and assembling the samurai temple bell 2021-10-11 | Samurai Temple Bell available NOW! >> 2021-10-14 |
With so many new models sitting on my paint desk, it's actually the most recently printed one that reaches the finish line first!
The new Temple Bell model turned out to be the simplest of the 3 models to paint, and here's a quick how-to-paint guide to show you what I did ...

£ Spray undercoats are the way to get this project started FAST! I undercoated the base and bell in black, the roof section in slate grey, and the roof underside and frame in light brown.

£ I gave the base section a quick brush with neutral grey on the stonework, and sable brown for the sand/dirt areas. The bell was given a thick coat of copper metallic paint.
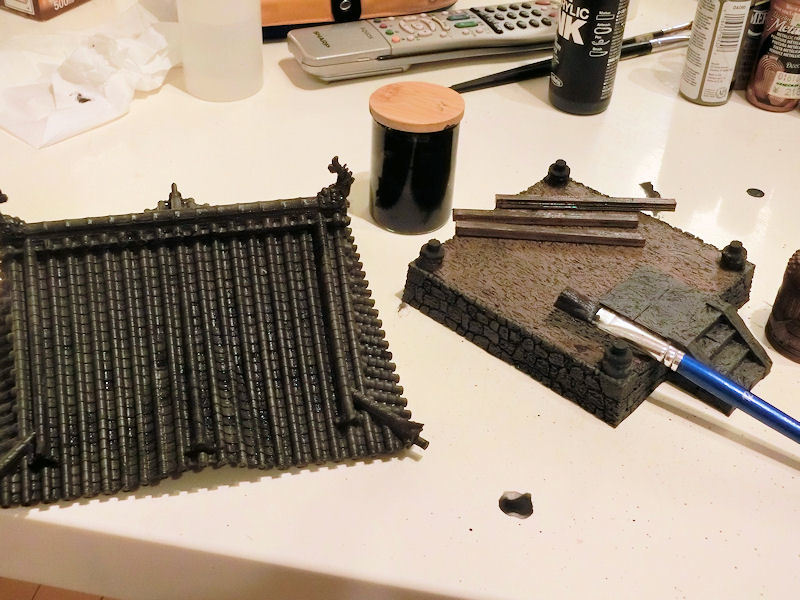
£ Next comes the messy stage - washes! Every single piece was given a thick coat of home-made black wash (a mix of acrylic ink, a few drops of matt medium, and some water). That darkens everything down and gives instant shading.

£ The next morning it was time to start drybrushing up the model. The base section was drybrushed using a thick (5cm-wide!) brush in neutral grey, and then more lightly in lighter greys. The dirt surfaces were drybrushed in sable brown again, and then a lightgrey/lightbrown mix.
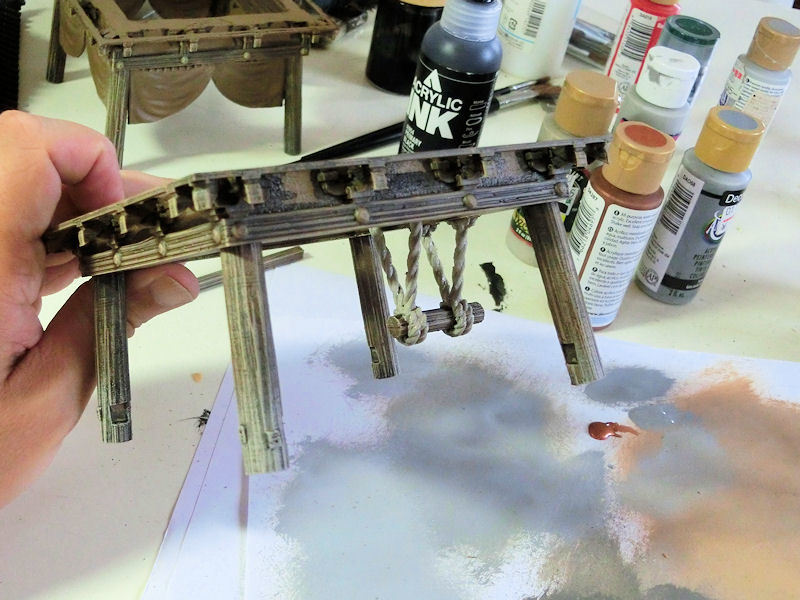
£ The wooden frame was drybrushed in mid and light brown, and then a little drybrush of light grey was done over the bottom ends of each corner post, where the sun would slowly bleach the wood over time.
It was time to move on to smaller details, so I basecoated the rope in Driftwood (as shown above), and then gave it a black wash.
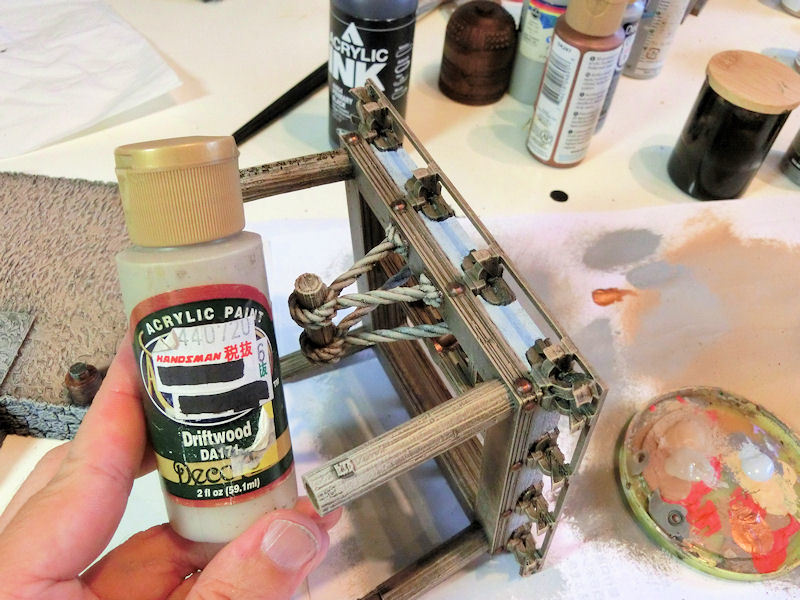
£ It was a little hard to keep rotating the model around in my hands, but I highlighted back up to Driftwood again, leaving the black wash in the crevices.
At this stage the frame and base are mostly finished, so I glued them together.

£ Time for some verdigris copper! This photo of the giant bell at Chion temple was my goal for the temple bell, and it actually isn't that difficult to replicate.
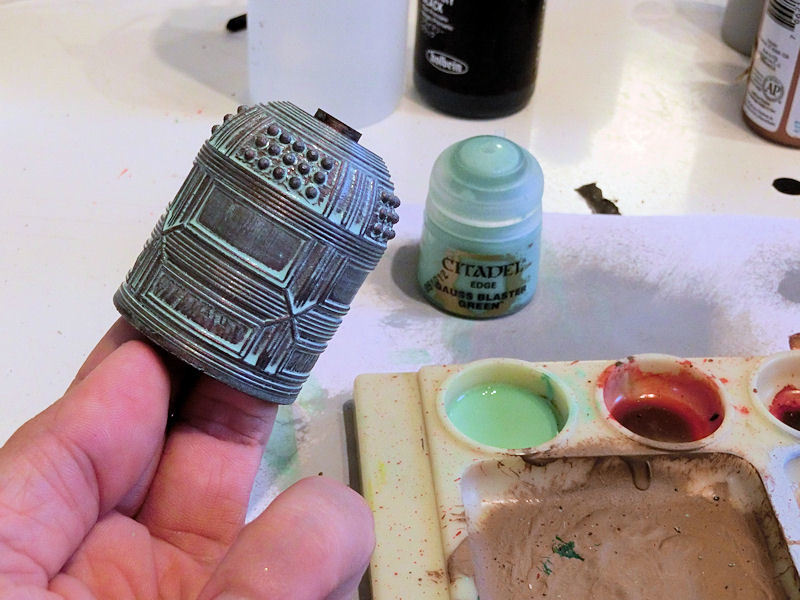
£ Firstly, the copper basecoat was dulled down with a black wash, and allowed to dry thoroughly. Then I mixed a verdigris wash from a few drops of mint green paint (GW's Gauss Blaster) and a few drops of water, until it was the consistency of watery milk. This was brushed all over the bell, and left to dry.
An hour or two later, I gave it a second verdigris wash, and left it to dry again - this time upside down, so that the wash pooled in the opposite direction.
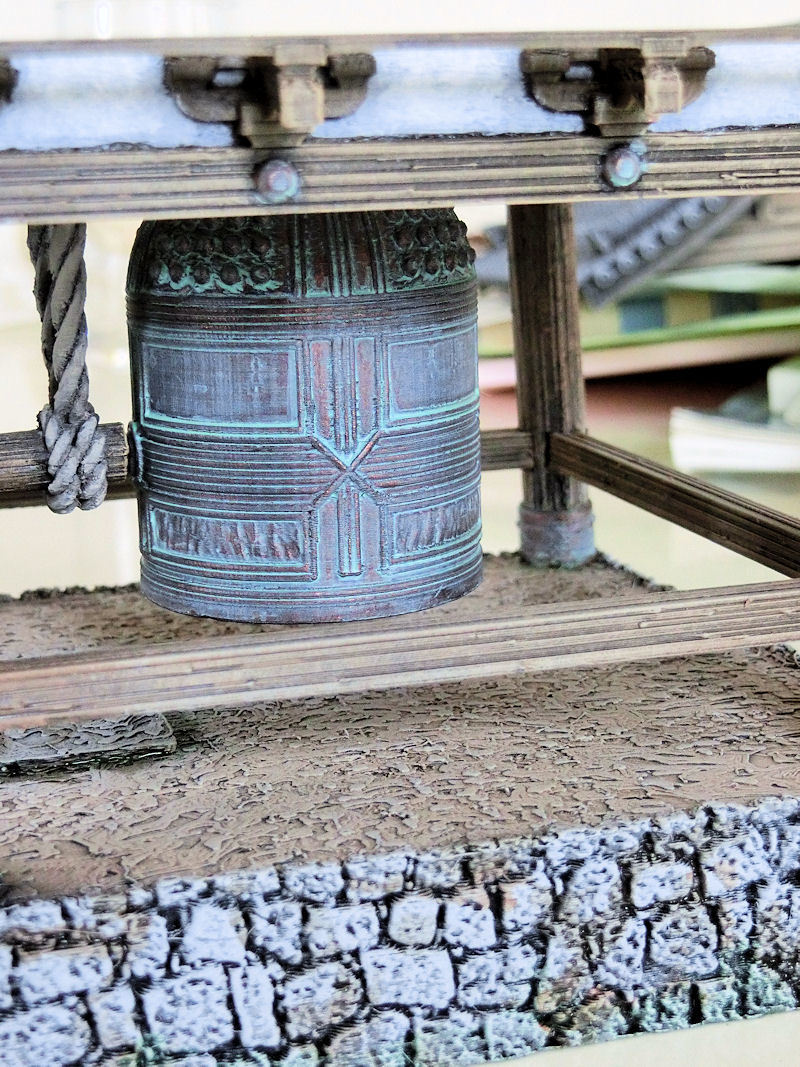
£ When it was dry, this was my finished bell. I glued it to the frame (I recommend doing this upside down), and then sliding in the three side beams and gluing those too.
Notice that I also decided to paint the frame studs (at the top) and post bottoms (at the back of the photo) in copper too, just to tie the colour scheme together. I think old copper goes a long way to telling a great story about how long these buildings have been around.

£ The last touches were to add some extra age effects with coloured washes. The base section stones were dabbed with brown and red washes, and then a green wash was added to the bottom edge and various nooks and crannies, to show where mould might grow over time.
With that, my temple bell was finished! Time for some finished photos, and a quick video - watch this space!
| << Printing and assembling the samurai temple bell 2021-10-11 | Samurai Temple Bell available NOW! >> 2021-10-14 |
