| << What would YOU like to see next? 2023-04-03 | Samurai battle report - Mayhem at the Market >> 2023-05-07 |
The Samurai Shop Set contains a new version of the LED lantern, which is in fact the 4th version we've produced. The first Wooden Lantern used a 20mm coin battery, as did the second lantern - the stone lantern from the Teahouse Set.
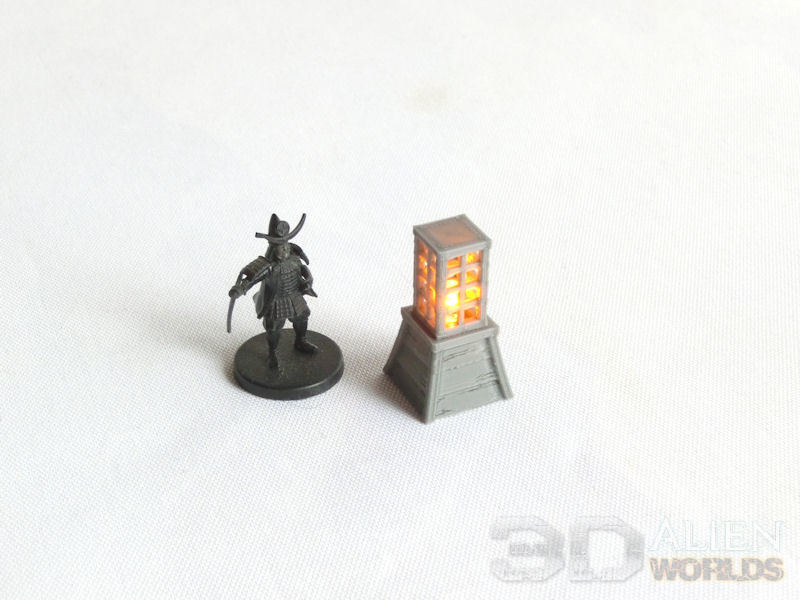
For the third version, the tall post lanterns from the Shrine Set, and this new shop sign version, we managed to switch out the size for a smaller 16mm coin battery. This meant that the size of the model required to conceal the battery was considerably reduced, as you can see in the next photo:

▲ You'll be happy to hear that the base of the new smaller lantern is interchangeable with the larger wooden lantern (it will need a smaller battery, though!), so you can choose to model a larger shop sign if you prefer, or add the roofed top to the smaller lantern base if you prefer.

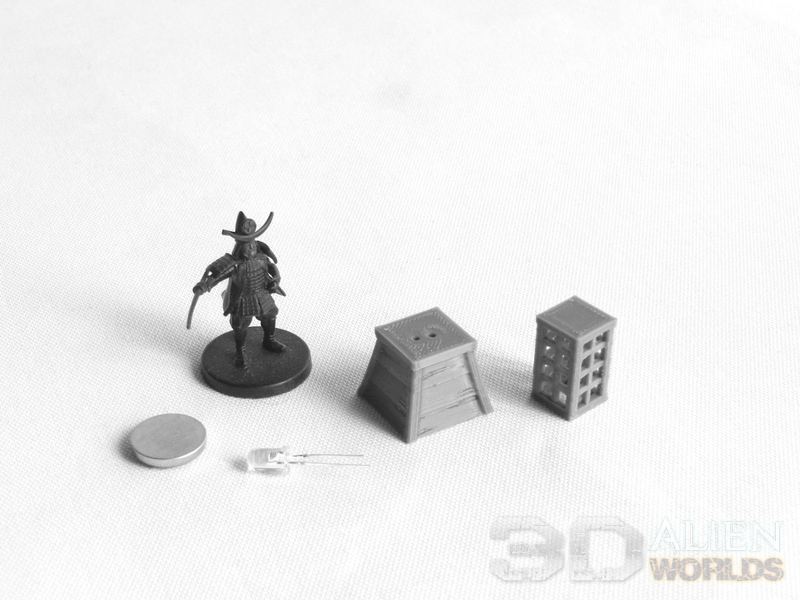
▲ Here's what you'll need for wiring the shop sign lantern with an LED:
You'll find these in super cheap LED tealights, and if you're lucky you can get one that flickers! I bought a bag of 100 very cheaply ($6) here:
https://www.aliexpress.com/item/32782781815.html
Simply slot the bulb's two wires into the holes, and then slot the battery into the underside of the lantern. That's it!
Note that the bulbs usually only work with the + side of the coin battery touching the longer wire. They don't seem to be reversible, so you might want to make a note underneath the lantern to show which side is the +.

▲ I've found that kitchen paper (baking sheet) is ideal for modelling the paper insert in a lantern, with the right amount of translucency. You can add the paper inside the top section, or you can glue it outside the bars, if you're adding kanji characters or illustrations.
| << What would YOU like to see next? 2023-04-03 | Samurai battle report - Mayhem at the Market >> 2023-05-07 |
