3d-printable terrain for all your samurai wargaming needs


We have quite a few print partner shops around the world now, so it seemed helpful to add a PDF section to the website, full of all the assembly PDFs for all our models!
You can find the section in the HELP section, or via a link from any of the product pages:
We have a new print partner to announce this week, PAINTNER3D, from Germany. They are now selling print versions of our Necrontyr, Taui and Eldari terrain on their Etsy webstore!

Always nice to do something fun on your birthday, and this is my weird idea of something fun! - the new Necrontyr Energy Monolith is available for download from today!!

£ This monolith is a pretty big model, reaching up to a height of 20cm (8"). There is space in the base for LED lights, to light up the central plasma ball in spooky green glow.

£ From a model's eye view, it's massive - just about big enough to give an imperial knight some cover!

£ It has a flat top big enough to accommodate a squad of models, although you wouldn't want to slip!!

£ The problem I had taking these photos in semi-darkness, was that the painting on the inner sections of the monolith were also in shadow, but it still looks pretty good without LEDs!

The new Necrontyr Energy Monolith is available for download now!!
The new Necrontyr Energy Monolith is coming very, very soon, and so it seems useful to jot down some notes on one way to paint this fairly large piece of terrain up!
The most important thing to suggest is to paint it BEFORE final assembly. The interior of the monolith is quite a complicated geometric shape, and although it is possible to get brushes into all the nooks and crannies, it's not all that easy. So I'd recommend doing the internal painting first, and then glue it together in stages.
Here's how I did mine....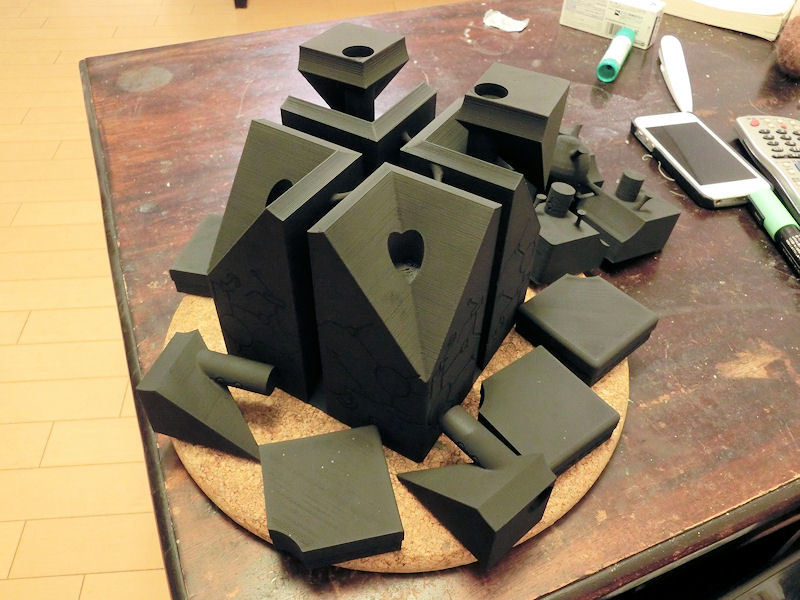
£ The monolith comes in ten parts, and I gave all of them a spray undercoat of matt black, which also works as the basecoat too.
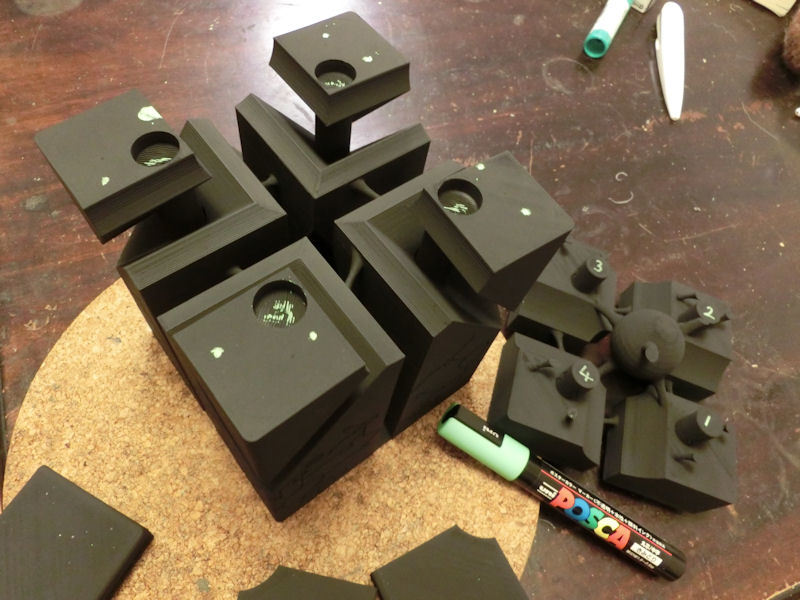
£ The plasma ball section has several tendrils of plasma energy which reach to other sections of the model, and I wanted to make sure that the area around each tendril was suitably lit.
I found that the best way to achieve this was to put a dot of paint on the section below, wherever each tendril touched. Numbering each of the quarters was also helpful, so they would line up correctly later on.
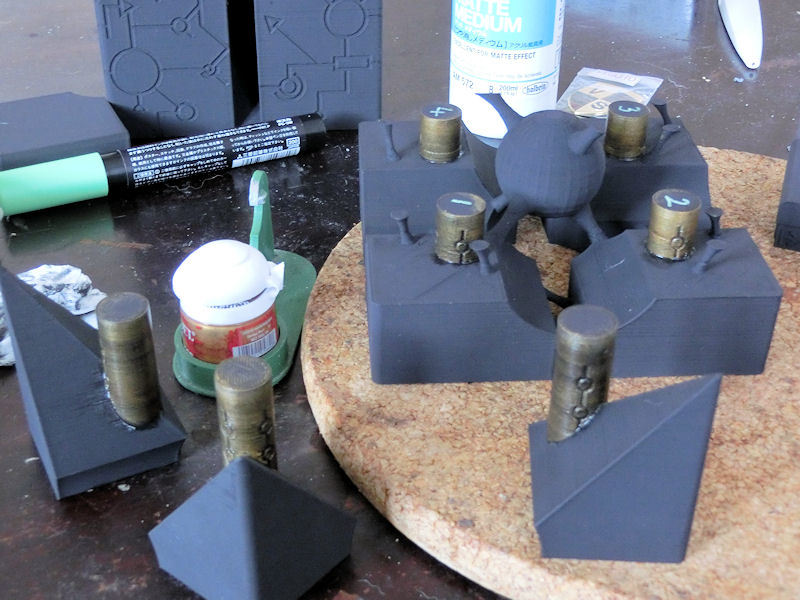
£ Next I gave the support columns a basecoat of gold and then heavy black washes, because these would also need to have green glow reflected on them later, so they needed to be done now.

£ Next was the tricky bit! I started with an airbrush and white paint, by spraying small blobs over the top of each of the marks where the tendrils would touch. A small airbrush works quite well for getting in to the narrow spaces of the base section, too.
And then my airbrush died! Damn.
So I switched to a rattlecan of matt white spray, and sprayed white over the central plasma ball and surrounding areas, wherever the glow of the plasma would reach. I tried to be reasonably neat, but overspraying slightly didn't worry me too much.

£ With the hard part completed, I switched to an old brush and painted over the white with the most neon green I could find (an old Scorpion Green, by GW). You don't need to be too careful here, because the green paint looks good over the nearby black areas, too, as extra glow.

£ This was the final section to be "greenified". It might look weird while you're painting it, but have some faith, and it'll look good in the end!
* The plasma ball in the centre is smoother on the final model, than in this photo. This was a prototype print, and I hadn't noticed the sphere was low-resolution until it had printed.
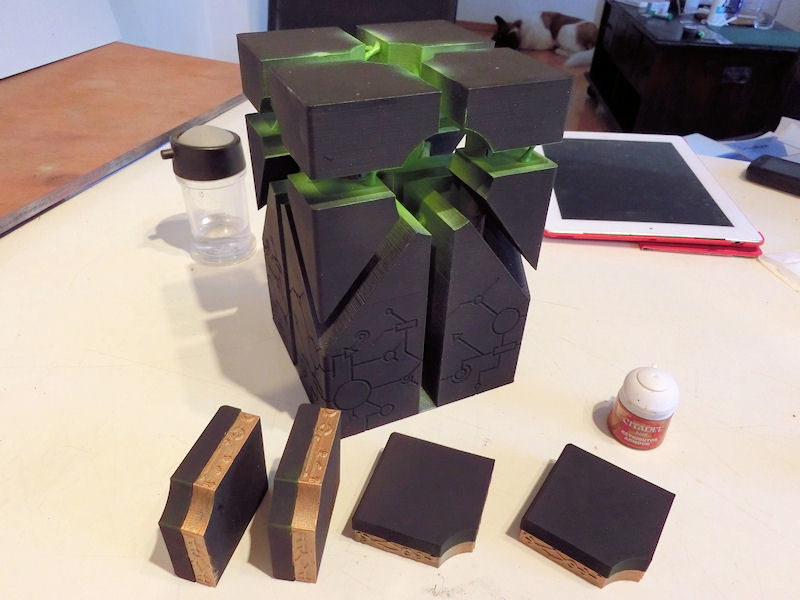
£ With the green glow just about done, I glued those sections together, and started adding some gold to the runic sections at the top, but only on the inside. It's easier to paint the inside sides before gluing.
£ This was the last big part to paint - a gentle drybrush with Leadbelcher (dark silver), using a large 2" paintbrush. Note that you should mainly aim to drybrush from side to side, because if you drybrush top to bottom it will highlight the print lines.
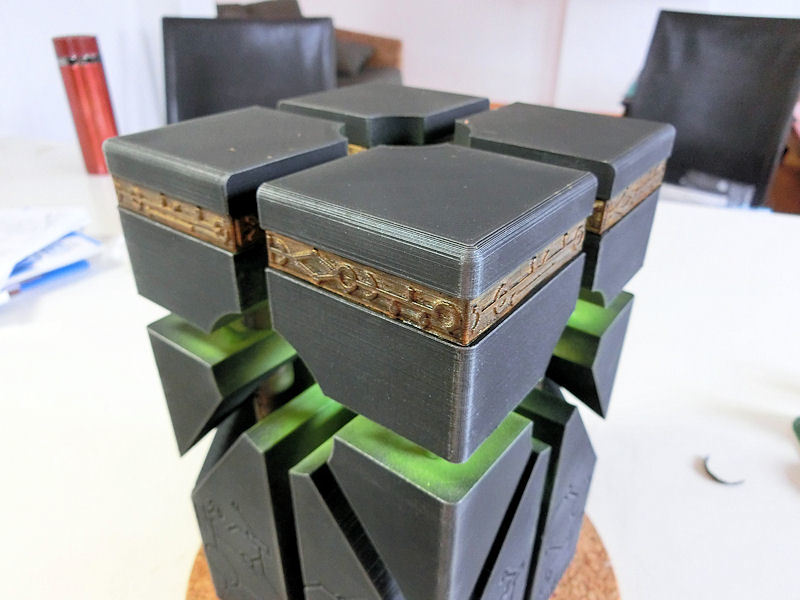
£With all that done, the gold strips were painted and then darkened with some heavy black washes, and then the runes highlighted again with gold to pick them out.
And finished!
Final pics are coming tomorrow, with an official release this weekend.... just in time for Warhammer 9th Edition's release!
We have a new and very large model coming your way soon for the Necrontyr range - the massive Energy Monolith!!!
Here's a little assembly diary, and a peek at the finished model. Wait until you see the scale at the end.....

£ The base of the energy monolith is a very simple one-piece print, if a little time-consuming. Each of those four corners is hollow inside, and you can fit LEDs (either 4 separate ones or a string of LEDs), so that they light up the interior.

£ Next you'll need to print the 4 second level pieces, which is quick and painless! They print upside down, so no print supports are required.

£ The third level is where the magic happens. This piece is also printed upside down, and there is one central print support (marked in red) holding up the plasma ball in the middle, which you will need to cut away.
Although this piece can be printed without extra supports, you might want to consider putting some extra slicer supports beneath that plasma ball, if your printer tends to make a messier surface for overhanging sections. My printer did a reasonable job here, so I'll just neaten things up with a blob of wood filler to smooth things out before painting.

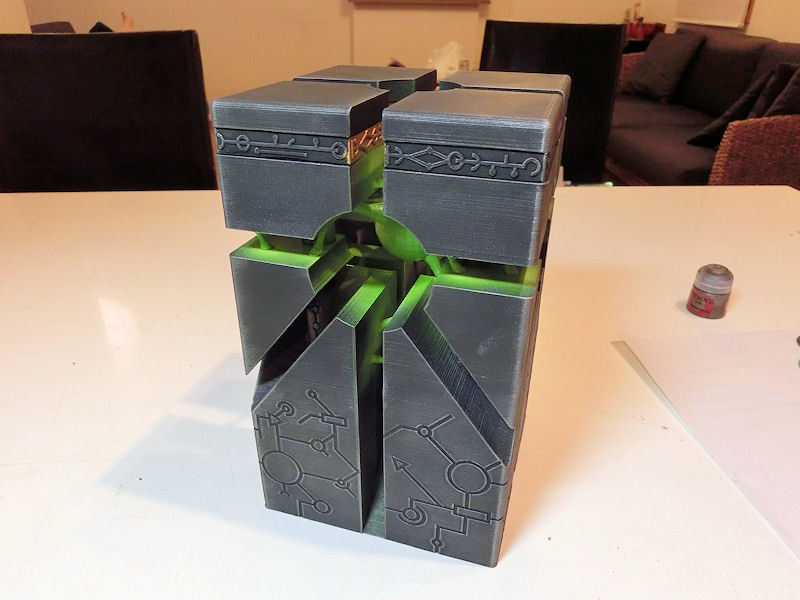
£ With the third level flipped over and slotted in to place, you can begin to see the overall shape.
Please note that we recommend NOT gluing the pieces together until after you've basecoated the monolith in your chosen colours, as those inner spaces might be a little tight!

£ The last pieces are 4 top level sections, with runic script. These just glue into place on top, to finish the model.

£ To give you some idea of scale, here is Ned the Necron posing next to the complete Energy Monolith - it's HUUUUUGE!!
This measures 125mm (5") wide and 208mm (8") tall, with a large flat top surface for placing units.... if they want to take the risk?! Just don't fall in!!!

£ At a slightly lower camera angle, you can see the inner workings of the monolith. The little joining bars between sections are placed to suggest sparks of plasma energy corruscating around the inside, and it's been designed to look like the central plasma ball is floating without supports.
Hopefully this should all look stunning with a little bit of white and green airbrushing over the plasma sparks - let's see if my GW airbrush is up to the task?


 PDF Instructions >


0 Comments :
Write a comment :