| << Designing the Samurai Teahouse 2020-04-23 | Printing and assembling the samurai teahouse >> 2020-04-26 |
One of the accessories of the new Samurai Teahouse set is a brand new stone lantern, which can be easily wired with an LED if you want to! Well, I say "wired", which sounds a bit complicated perhaps, but this new lantern is super easy to add lighting to..... even more so than our popular wooden lantern (which required a paper clip).
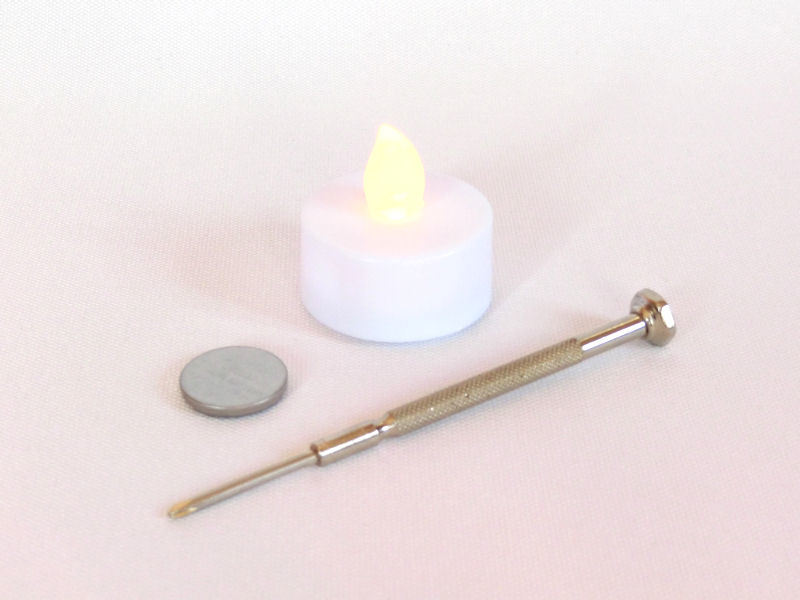
What you'll need:
That's it!! Yes, really!

£ This is so super-easy, it's not really worth writing a how-to guide! But here goes...
Start by pulling apart the tealight. You may need a small screwdriver to do this, or failing that, a good sturdy dwarven axe.

£ The only two parts you actually need are the battery (a CR2032) and the LED bulb with its two attached wires.
You can feed the rest to your pet beastie*.
* Don't do this.

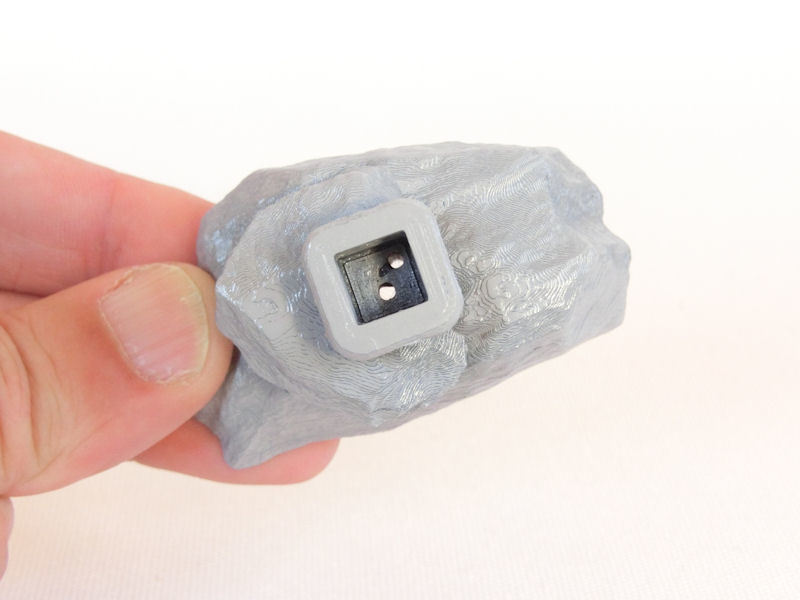
£ If you look at the top of the stone lantern model, you'll see two small holes....

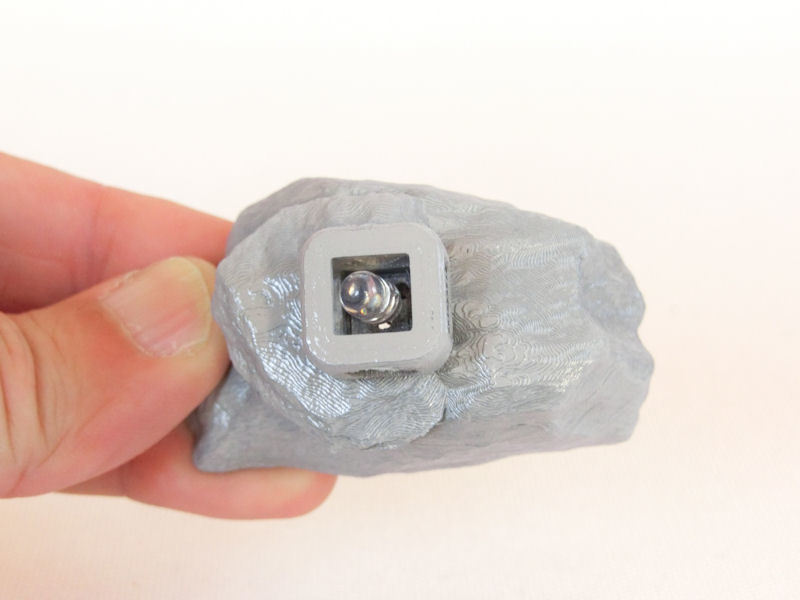
£ ... simply slot the two wires from the LED into those holes. That's pretty much it!

£ Okay, you might need to ensure that the two wires are roughly in the slots, looking from the bottom of the lantern. Bend them into place with a small screwdriver (or your rogue's lockpicks) if you need to.
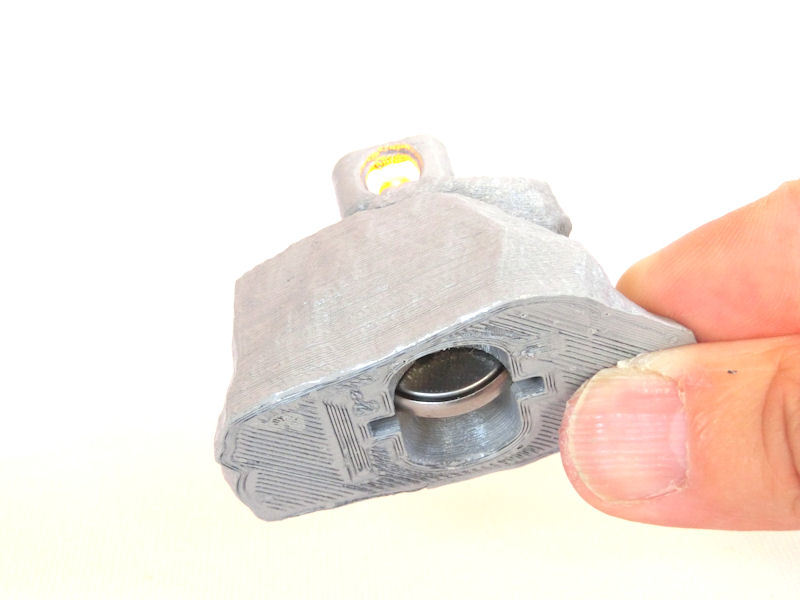
Then simply slot the battery in the bottom. It should be a snug fit, pushing up against one wire on each side.
Note that it will probably only work one way round, so if it doesn't light up, try flipping it round in the opposite direction. You might also want to make a note of which side of the lantern is for the + side of the battery.

£ There you have it. Too easy, yes? You probably feel cheated now, right?
I'm considering adding a tiny bit of baking sheet paper inside the top of the lantern to diffuse the glow, or maybe some thin paint on the bulb, but we'll see how that looks.
Full collection of printed pics coming tomorrow, so watch this space!!
| << Designing the Samurai Teahouse 2020-04-23 | Printing and assembling the samurai teahouse >> 2020-04-26 |
